Does anyone have any advice for moving items accurately into preferred location/alignment when creating in a space? I am attempting a periodic table of elements using some Text Panels as items and am having a very difficult time lining up the items neatly. I want to tap the arrow keys on my PC keyboard to slowly nudge them into place but that just changes the viewing angle. When I drag the items, they move too far. Any ideas? Thanks!
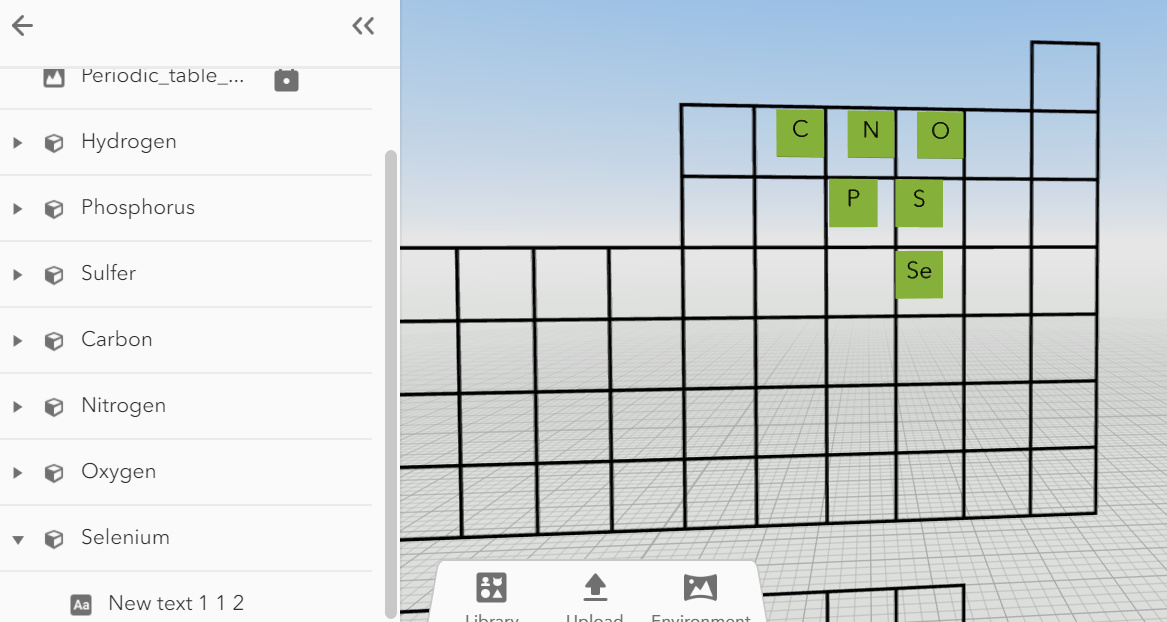
This is an example. Trying to get the green text panels in the center of the table squares.
You can make use of the position snapping feature to accurately position items. The shortcut to toggle it on and off is the S - key.
Alternatively, you could also create a table cell template and duplicate it to create the full periodic table more quickly. You drag-duplicate while holding down the alt-key on Windows or option- key on Mac.
Below you can find the remixable space used in the video. Simply press the remix - button to make your own copy
WOW! Thank you @Stefan! This is perfect. As for making the element block with the border in the video, how did you accomplish this? I might have to have some blank cells in order to break up the space by element type so it doesn’t get too large. Ultimately, we want students to link each element to a scene where they can upload 3D models of the elements. Will this scene be too busy with over 100 elements, therefore 100+ scenes, or is it recommended we break it up by element type (ie. semimetals, nonmetals, noble gases, etc)?
The Cuboid building blocks are relatively lightweight compared to uploaded 3D items, so scenes do not have issues displaying several of those at the same time. Uploaded 3D items, however, are much more heavy and may impact the performance if a lot of them are in the scene at the same time.
You could actually reduce the cell to 4 items (two cuboids, two text items) to make it even more lightweight. Here’s a construction video:
First, create all four items that you need:
Two cuboids
Two text items
Attach the border cuboid to the back of your other cuboid.
Color the front cuboid in the periodic element color (you can also hide the cell content by making it transparent)
Finally, to avoid accidental selection of the border, lock the border cuboid
Now you can attach, label and color your remaining text items to the front-facing, colored cuboid
To duplicate the cell, simply select your cellColor cuboid. You can also name it the cellParent.
Here you can find the finished item ready for remixing:
Finally, it definitely makes sense to break up scenes by element type (also to limit information overload and organize student work). Managing a big space in which the entire class has access to will be an interesting challenge!